Inventor
|

|
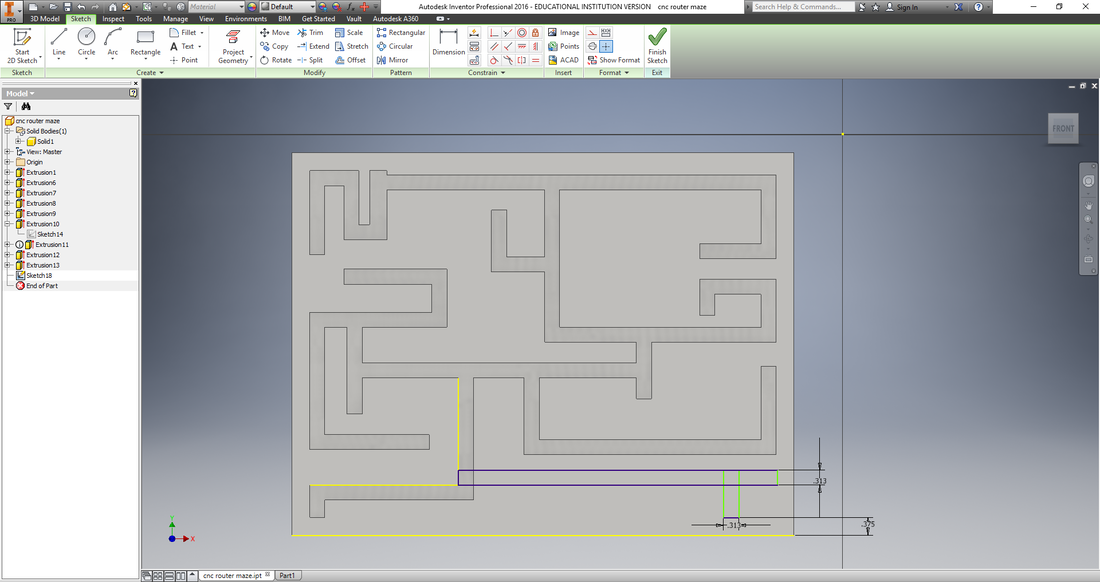
To start I designed my Maze using Inventor. We had very specific instructions for the dimensions of my maze. For example the channels must be 5/16 inches wide and 1/4 inch deep. When I created my maze I used rectangles to make the paths and extruded them to the specific depths they needed to be. Overall It was not to difficult to set up using inventor. I just had to make sure the channels were the correct dimensions. To the right is my inventor progress with the maze
|
Fusion 360
|
|
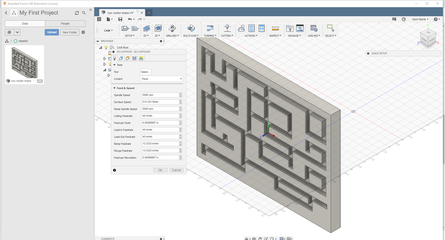
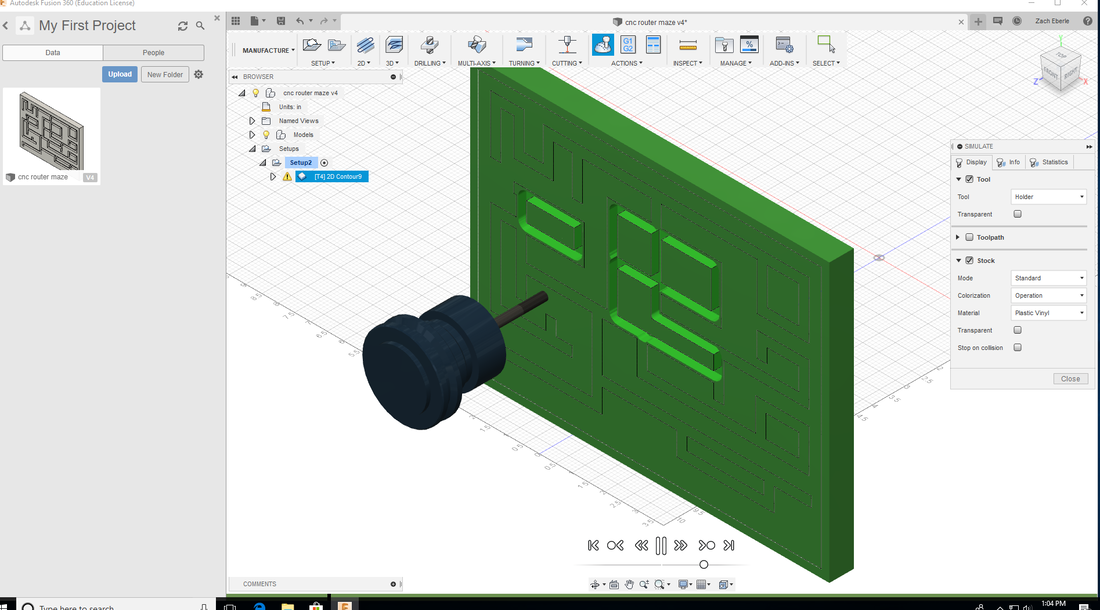
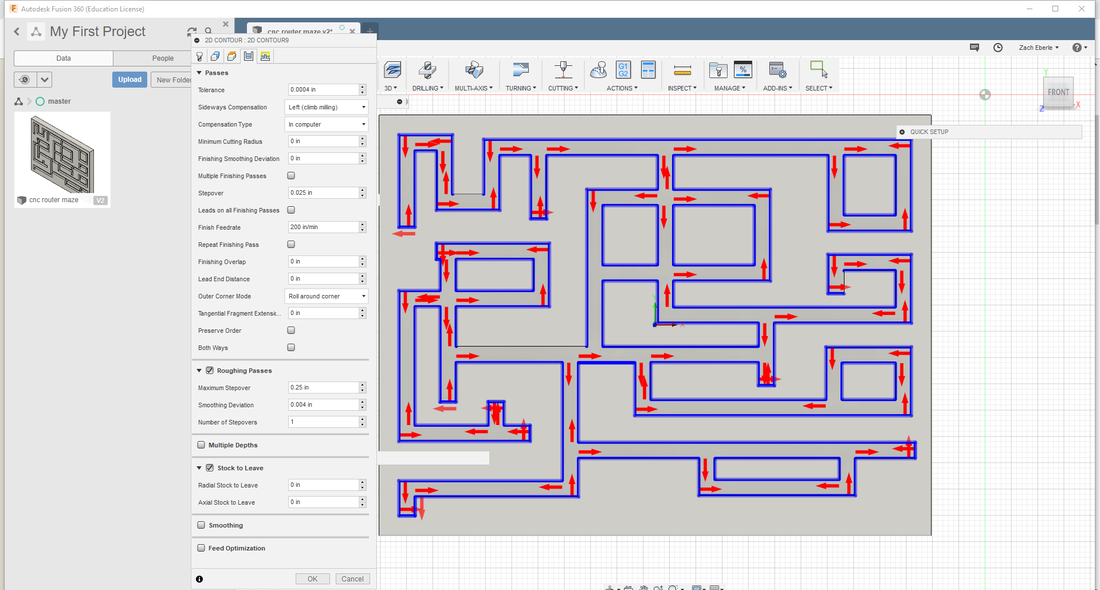
Once I designed my maze on Inventor I used Fusion 360 to get the maze set up for the router. The website was very slow and I did not like it very much. After a couple days of work I got the maze set up for the router. The 1st picture is me setting up the layout by saying my dimensions. The 2nd picture is me selecting my tool paths so the router knows what to cut out. My final picture is my maze simulating on fusion 360. m
|
CNC router
|
|
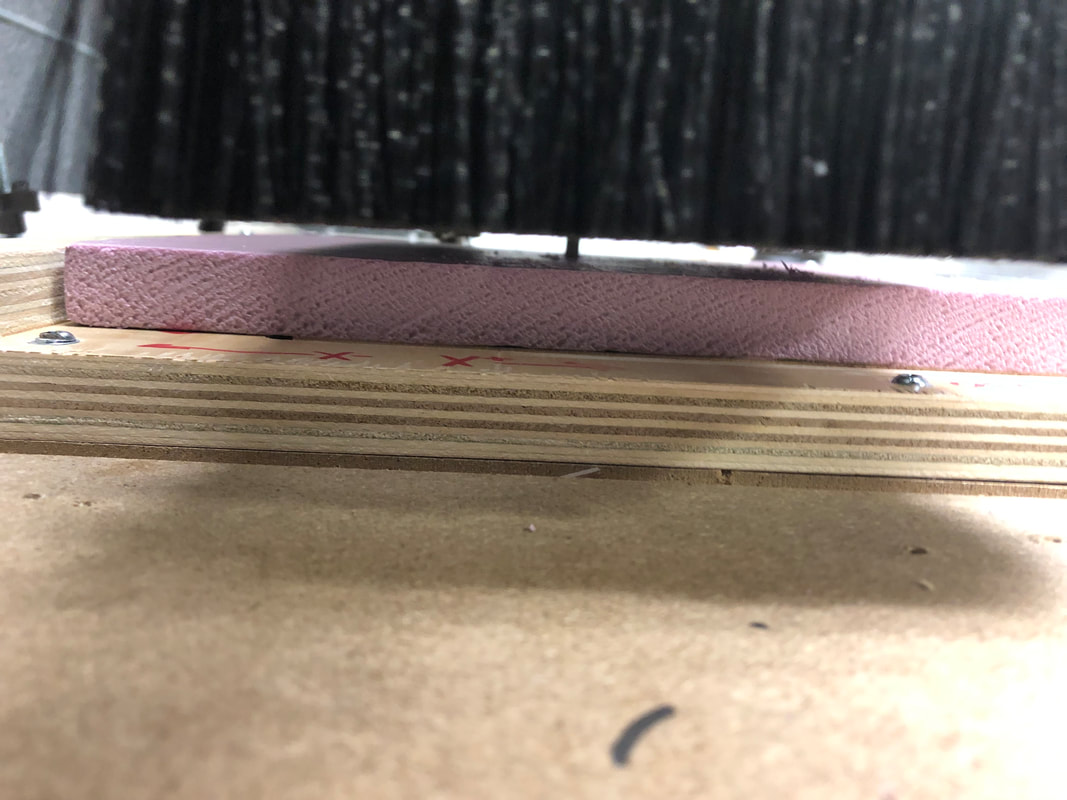
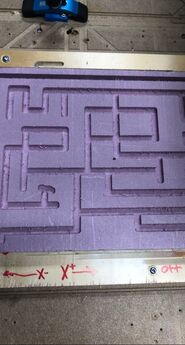
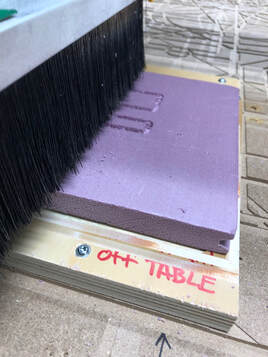
Next I used the CNC router to cut out my maze. The website was not hard to use and I was able to get my maze cut out pretty easily. The 1st picture to the right is me finding my stock box point on my maze. The 2nd picture is the router cutting my maze. The final picture is my maze after it was cut out by the router.
|
Lasering my name
|
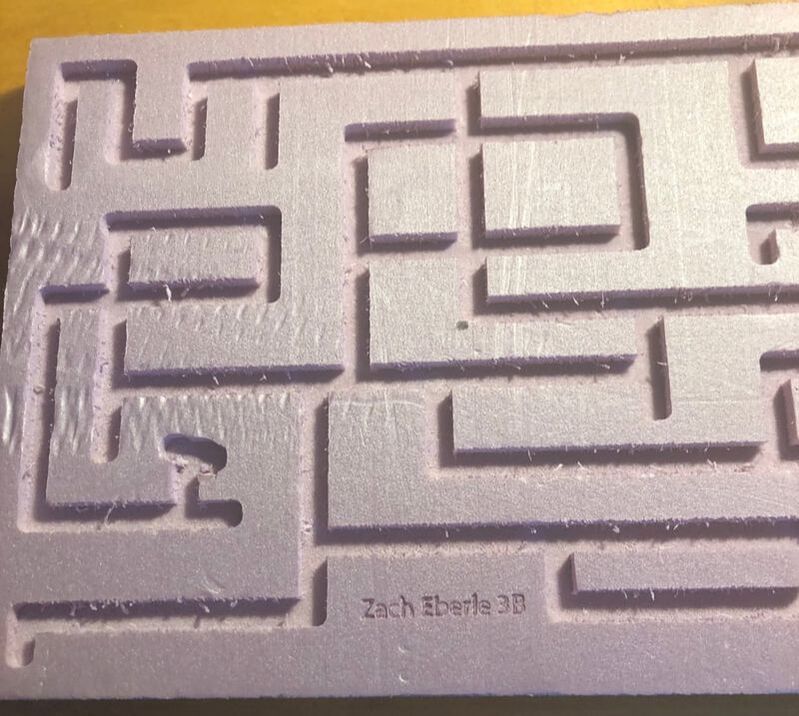
Once my maze was cut I used Illustrator to laser engrave my name on my maze. It was not to difficult I just had to follow the direction sheet to put the right settings into Illustrator so I did not melt my phone. To the right is my brake bracket and my maze with my name and hour engraved my name
|
What I learned
What I learned in the CNC router rotation was how to use Fusion 360. Even though it was a really slow website after a while I eventually learned how to use it. I also enjoyed getting to use the router. The router was my favorite machine to use in the lab so far and I cant wait to complete my final project.
